Pilot Light Repair Services for Property Owners
This page helps property owners learn about Pilot Light Repair services and compare local contractors who handle the work.
- - Pilot light repair services for residential homes, ensuring safe and reliable operation of heating systems.
- - Local contractors specializing in troubleshooting and restoring pilot lights in various heating appliances.
- - Connect with experienced service providers who handle pilot light issues across different property types.
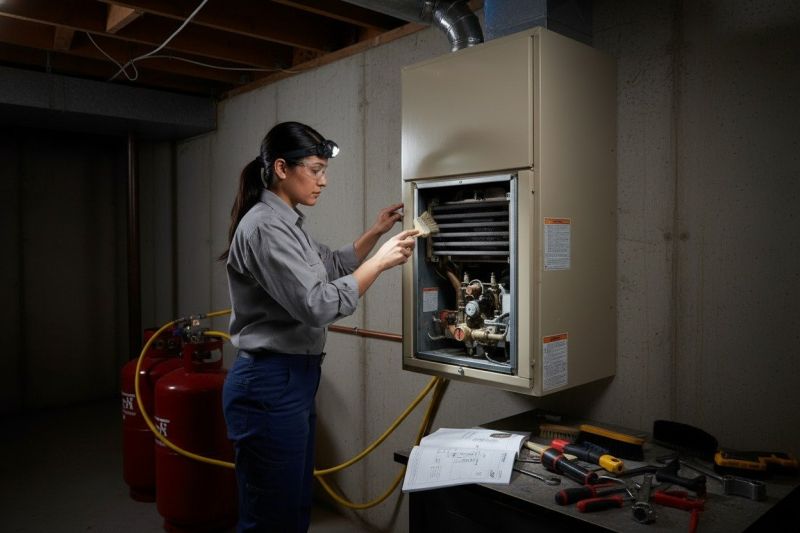
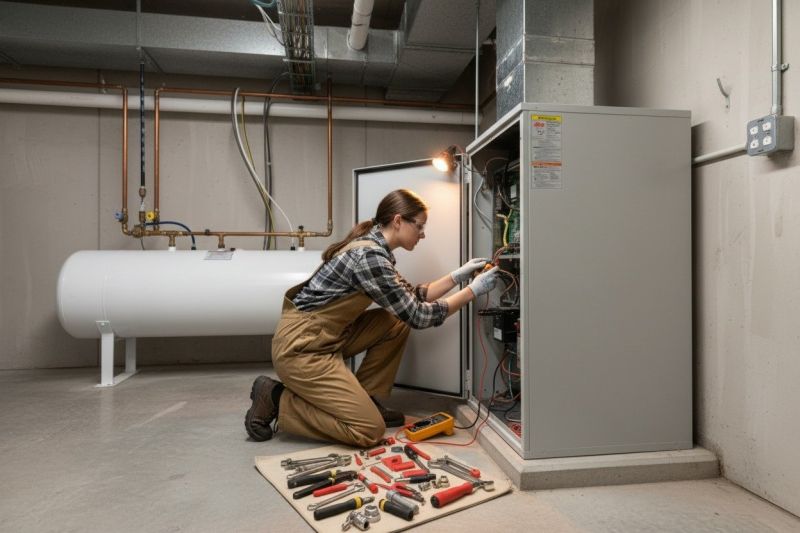
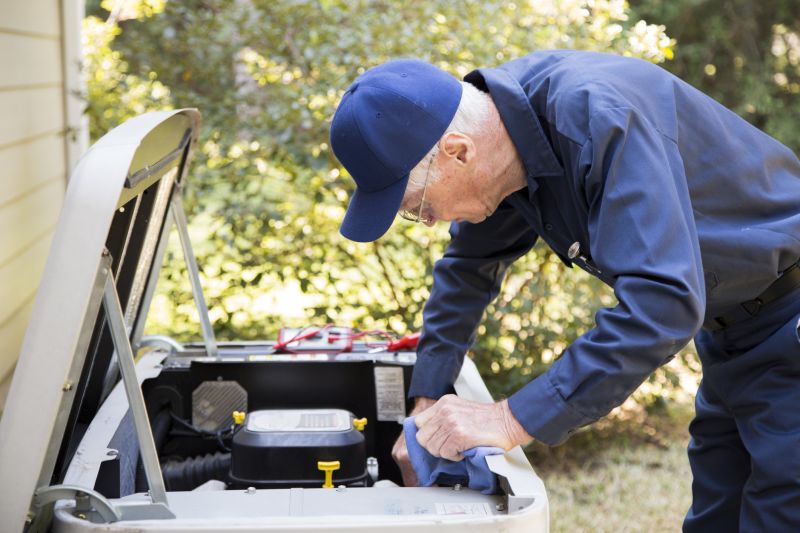
Pilot light repair services are essential for maintaining the proper operation of gas appliances such as furnaces, water heaters, and boilers. When a pilot light repeatedly goes out, fails to ignite, or shows signs of irregular operation, property owners often seek assistance from local contractors experienced in diagnosing and fixing these issues. These service providers handle tasks like inspecting the pilot assembly, cleaning or replacing components, and ensuring the appliance functions safely and efficiently.
Local service providers who specialize in pilot light repair are familiar with a variety of appliance models and common problems. Property owners can expect these professionals to assess the situation, identify underlying causes, and perform necessary repairs or adjustments. Connecting with experienced local contractors can help ensure that pilot light issues are addressed properly, supporting the safe and reliable operation of gas-powered systems in residential or commercial settings.
This guide provides helpful information to understand the basics of pilot light repair and what to consider when hiring a service provider. It assists in comparing local contractors to find the right professional for your needs. The goal is to help you gather the necessary details to connect with qualified local service providers.